
To add an SRT to a video, open the original video in an editor that accepts subtitle files, import the SRT and check its timing. Then choose a separate caption track or permanent text in the exported picture. Transcribe Audio to Text prepares the caption file on iPhone; the video editor handles the final video.
What should you prepare before importing?
Use the same cut of the video that produced the captions. Removing an introduction later shifts every subtitle after that point. Keep the original video and a copy of the SRT so you can change the text without losing your source.
After selecting an audio or video through Choose a file, choose the spoken language and Fast or High, then start transcription. Keep the app open while it works. Review the words and cue times in Captions, then export SRT. The app keeps the audio for transcription; keep the original video for your editor.
How do Premiere and Final Cut Pro import SRT?
In Premiere, import the SRT as media and drag it from the Project panel into the sequence. This creates a caption track.
In Final Cut Pro for Mac, use File > Import > Closed Captions and select the SRT. Check the language role and insertion point. You do not need to turn this SRT into an XML timeline.
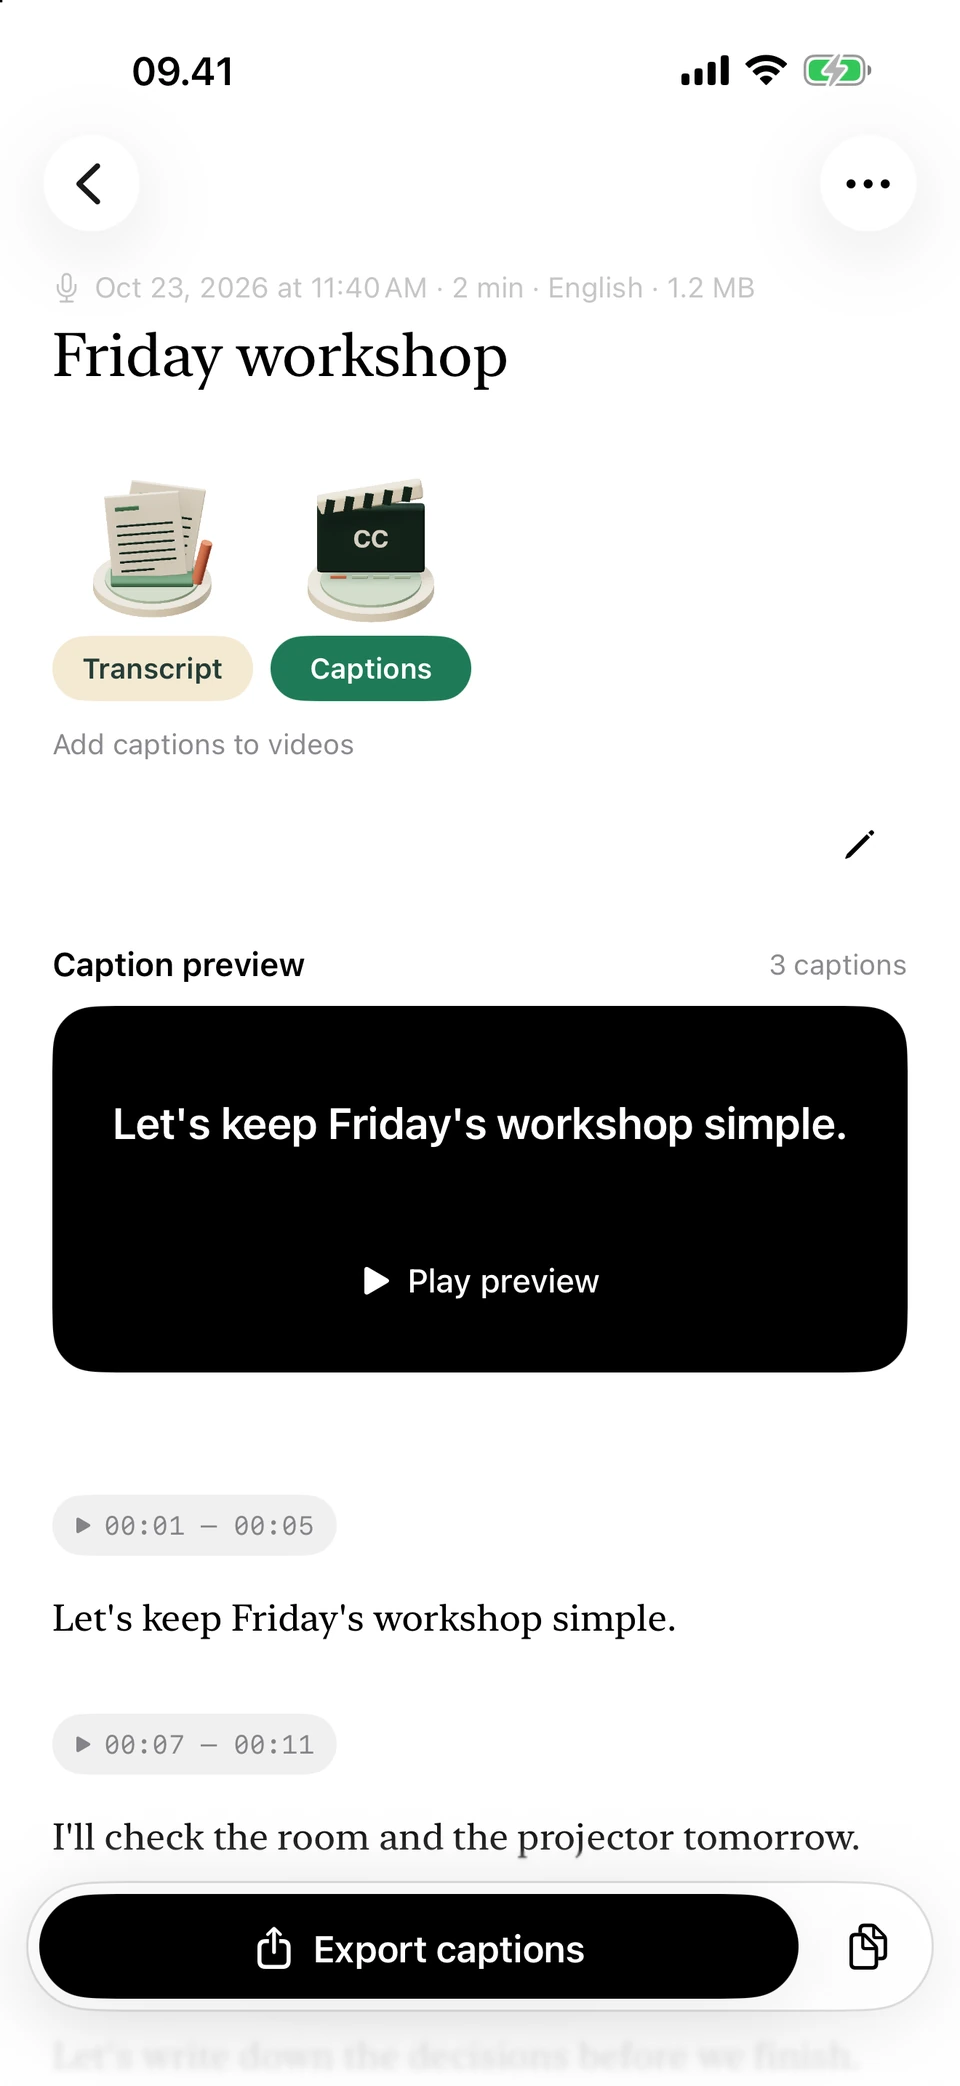
The same example as short subtitle cues with their timings. Screenshots from a development build, using illustrative sample text.
How do you use SRT in CapCut or Filmora?
In CapCut Desktop, use Captions > Add Captions. On the web, use Captions > Upload caption file and select SRT. CapCut’s help currently says its mobile app cannot import an external subtitle file directly.
In Filmora Desktop, import the SRT through Media, place it on the timeline and double-click it to edit. Check timing before spending time on fonts and animation.
What about DaVinci Resolve and iMovie?
DaVinci Resolve imports SRT as subtitle media. Place it on a subtitle track above the video, then check the text and timing against your final cut. Its export settings let you choose a separate subtitle file or subtitles rendered into the picture.
For iMovie on Mac, the documented route uses Titles: drag a title above a clip, replace its text and set its duration. That is a manual route for short clips. For a long SRT, use an editor with subtitle-file import instead.
How do you make the subtitles stay in the exported video?
A separate caption file lets a compatible player show or hide the text. Burned-in subtitles become part of the picture. Choose that option when the destination needs text to remain visible, and keep an uncaptioned master for later changes.
HandBrake can load a supplied SRT on its Subtitles tab; choose Burn In for permanent text. Selectable subtitle support depends on the output container. Export a short sample first, then watch the finished file at the beginning, middle and end. Check line breaks, accents and text against both bright and dark scenes.
Questions you may have
Does the iPhone app burn subtitles into a video?
No. It exports separate SRT or VTT files. A video editor or encoder combines the captions with the original video.
Can I import the SRT in CapCut on my iPhone?
CapCut’s current help documents external-file import on Desktop and Web, not directly in its mobile app. Use one of those supported import routes for the SRT.
Will the SRT keep my chosen font everywhere?
Do not rely on that. Caption appearance depends on the editor, player and export settings. Check the finished video in its destination.
Why are all captions late after an edit?
A changed opening or a different cut can shift the timing. Align the captions with the final cut, then check later sections for further changes.